Hello everybody, hope you’re having an incredible day today. Today, I’m gonna show you how to prepare a special dish, sourdough bloomer. It is one of my favorites food recipes. This time, I’m gonna make it a bit tasty. This is gonna smell and look delicious.
Sourdough bloomer is one of the most favored of recent trending meals in the world. It’s simple, it’s fast, it tastes yummy. It is enjoyed by millions daily. They’re nice and they look fantastic. Sourdough bloomer is something which I have loved my entire life.
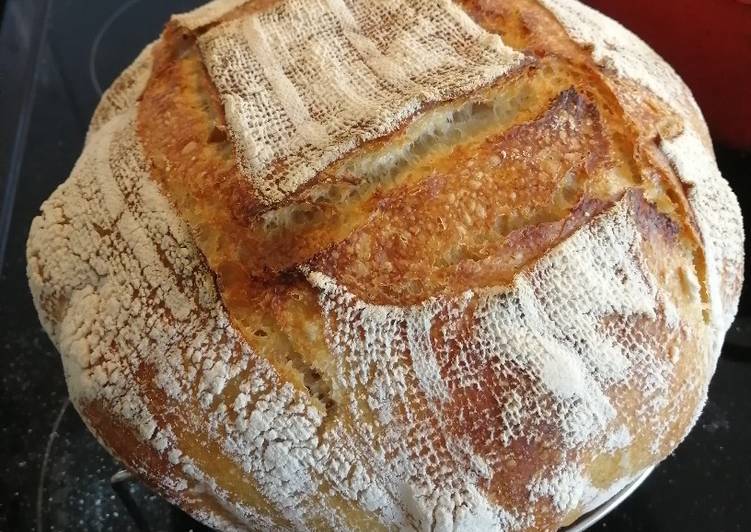
A medium sliced D shaped sourdough bloomer, perfect for toast, sandwiches and premium breakfast dishes. Download high-quality Fresh crusty sourdough bloomer bread loaf images, illustrations and vectors perfectly priced to fit your projects budget. We show you how to make a sourdough loaf from scratch.
To get started with this recipe, we must prepare a few components. You can cook sourdough bloomer using 5 ingredients and 10 steps. Here is how you cook that.
The ingredients needed to make Sourdough bloomer:
- Prepare 450 g bread flour
- Prepare 50 g kamut flour
- Make ready 100 g sourdough starter
- Prepare 350 ml warm water
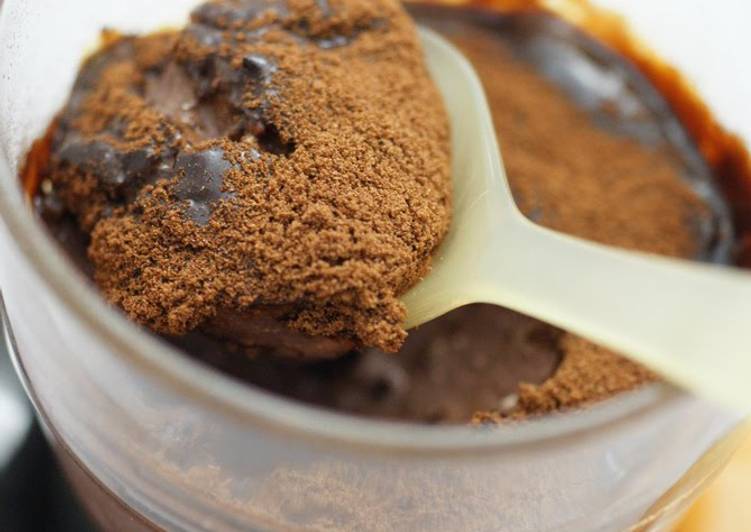
- Make ready 20 ml water mixed with 10g salt
Love the aroma, taste, and texture of homemade bread? If yes, this is your subreddit! Layers of energetic drums, driving bass lines, crunchy guitar interplay and poetic lyrics characterise. Photo about Sourdough loaf bread isolated on white background.
Steps to make Sourdough bloomer:
- In a large bowl, mix together the bread and kamut flour, the warm water and the sourdough starter, then cover with a hot wet cloth and leave to rest for 30 mins at room temperature, to allow all the ingredients to bond
- Add the salted water to the mixture and knead together. Adding the salt now will help tighten up the dough, allowing you to tuck the sides under to shape. Cover with a wet cloth and leave to rest for 30 mins at room temperature
- Now stretch and fold your dough, to let that gluten work and create some structure. To do so, grab a "corner" of your dough and gently pull it outward, stretching and waving it, then fold it on its own. Repeat until the edges all around the dough have been pulled and folded. Cover with a wet cloth and leave to rest for 30 mins at room temperature
- Repeat step 3 about 5-6 times, letting your dough rest for 30mins in between stretches. Then let it rest for at least 1-2 hours
- Now you can shape: get your dough on a floured surface, and pull it into a square. Now fold the corners in, in a cross stitch manner. Then fold it 4 times on its own: pull the bottom 1 third up, then the top 1 third down, and the left and right sides 1 third in. Turn your dough upside down, and start sliding it on the surface in order to tighten and seal the bottom. Let it rest a few seconds, to allow the dough to completely seal underneath
- Time for proofing: generously flour your proofing basket (or you can use a bowl lined with a dry, clean tea towel like I do) and tip your dough in it upside down. Cover and let it rest at room temperature for 1-2hours, then in the fridge overnight
- Once the dough has risen, preheat your oven at 220°, and leave your casserole or dutch oven in it to get really hot. Once you reached your temperature, flour the casserole or dutch oven, or line with a baking sheet, the tip the dough into it, and score the top of with a sharp knife. Cover with a lid and bake for 20 minutes. Leave a tray full of water in the oven during baking time, to allow extra moisture in
- After 20 minutes, remove the lid and bake for another 20 minutes
- Once the bread has cooked for 40 minutes, take it out of the oven and place on a cooling rack
- Once it's completely cold, slice it and go ahead enjoying it on its own or with some delicious butter 😊
When sourdough is left to rise, its characteristics change as it ferments. The dough's volume has How much sourdough starter or leaven has been used in the dough. My sourdough is a piece of bread dough that is enough to use for my next batch. Sourdough is trickier, and this recipe is quite minimalist: lots of ingredient ratios and timings should actually vary. It's always best to start with a really active sourdough starter.
So that is going to wrap it up for this exceptional food sourdough bloomer recipe. Thanks so much for your time. I’m confident you will make this at home. There’s gonna be more interesting food at home recipes coming up. Remember to bookmark this page on your browser, and share it to your loved ones, friends and colleague. Thanks again for reading. Go on get cooking!