Hey everyone, I hope you’re having an amazing day today. Today, I will show you a way to prepare a distinctive dish, homemade sourdough starter. It is one of my favorites. For mine, I’m gonna make it a little bit tasty. This is gonna smell and look delicious.
Homemade sourdough starter is one of the most favored of current trending foods on earth. It’s simple, it is quick, it tastes delicious. It is enjoyed by millions daily. Homemade sourdough starter is something that I have loved my whole life. They are fine and they look fantastic.
Each day you "feed" the starter with equal amounts of fresh flour and water. As the wild yeast grows stronger, the starter will become more frothy and. In my farmhouse kitchen, I love my homemade sourdough starter.
To begin with this particular recipe, we must first prepare a few ingredients. You can have homemade sourdough starter using 1 ingredients and 7 steps. Here is how you can achieve it.
The ingredients needed to make Homemade sourdough starter:
- Make ready Just water and flour!
Learn how to make sourdough starter from ordinary pantry ingredients, plus how to feed and store it so you can use How to Make, Feed, and Store Homemade Sourdough Starters. Some homemade sourdough starter recipes do call for flour and water only. However, flour and water can be pretty sterile. I have heard mixed success stories from folks using only flour and water.
Instructions to make Homemade sourdough starter:
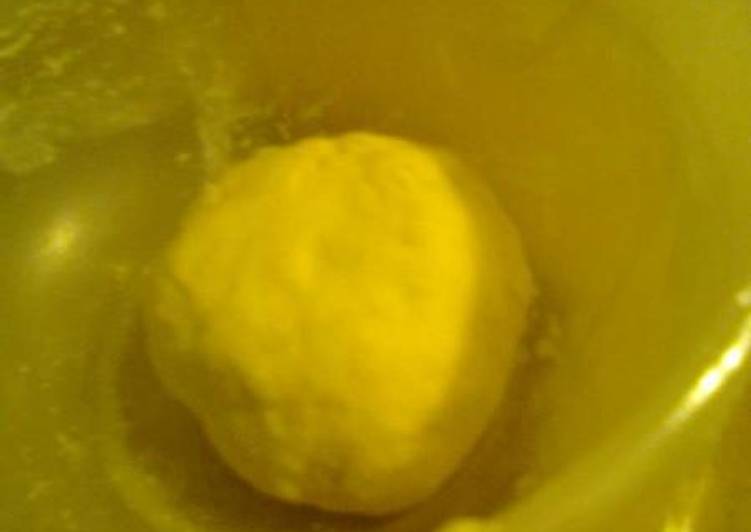
- Day 1Clean a glass jar of 0.5-1 l and the spoon with scalding water. Add 50 g water and 50 g of flour in the jar. Mix and leave for 24 hours. Depending on the temperature sometimes they start later or earlier. The ideal temperature is 30°C but the higher it is, the easiest it gets to lose a "feeding" and have the bad microorganisms kill our sourdough starter. I've made sourdough much more easily mainly at 18°C.
- Day 2No dramatic changes yet. Add 50 g water in the jar and 50 g flour. Mix using a clean spoon and let it sit for another 24 hours.
- Day 3Still, not much to see in the starter. Add another dose of 50 g water and 50 g flour. Mix, close the jar and set it aside for another 24 hours.
- Day 4Here you might see some bubbles in the starter. Discard most of it and keep at most a tbsp of it. This is done for two reasons. The first is that the jar will fill but mainly because one dose of feed can keep the microorganiss in the spoonful going for 12 hours so for 12 hours they will be able to feed and won't starve (literally) to death. Feed you starter with a double dose of 100 g water and 100 g flour. Mix and leave for another 24 hours.
- Dy 5It will have bubbles but will not have increased too much in volume. Once more discard most of it and feed with 100 g water and 100 g flour, leaving it once more, to sit for 24 hours.
- Day 6You will see that it has started to increase in volume of about 1/3 and has bubbles. It might have a ripe-fruity smell. Once more, keep one tbsp of starter and then proceed with feeding it 100 g water and100 g flour. Set aside for the next day.
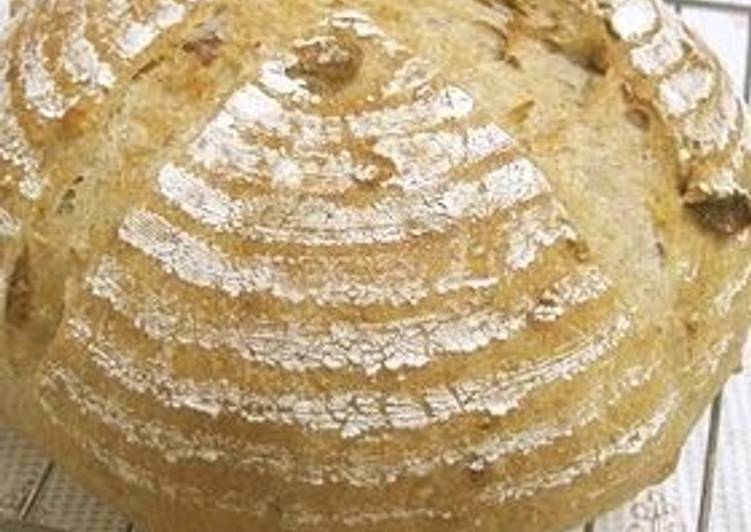
- Day 7 and onwardsConinue this cycle for about 2 days when you will see that it has doubled in size. You can start using it to make bread but it will need an additional week to have a stable culture. The smell will pass through various stages from resembling that of banana, then generally fruity to sour and it will be ready when by the end of the 24 hours it will have a strong vinegar aroma.
The first time I tried was in a fit of nesting before my daughter was born, and while my nesting ambition was. Sourdough bread starts with a good sourdough starter. This sourdough starter without yeast captures a wild bacteria. It is a natural fermentation including wild yeasts and bacteria. This starter is all-natural and, if properly tended, will provide wonderful yeasty bread for years.
So that’s going to wrap this up for this special food homemade sourdough starter recipe. Thank you very much for reading. I’m confident that you will make this at home. There’s gonna be more interesting food in home recipes coming up. Remember to save this page in your browser, and share it to your family, colleague and friends. Thanks again for reading. Go on get cooking!